Introduction:
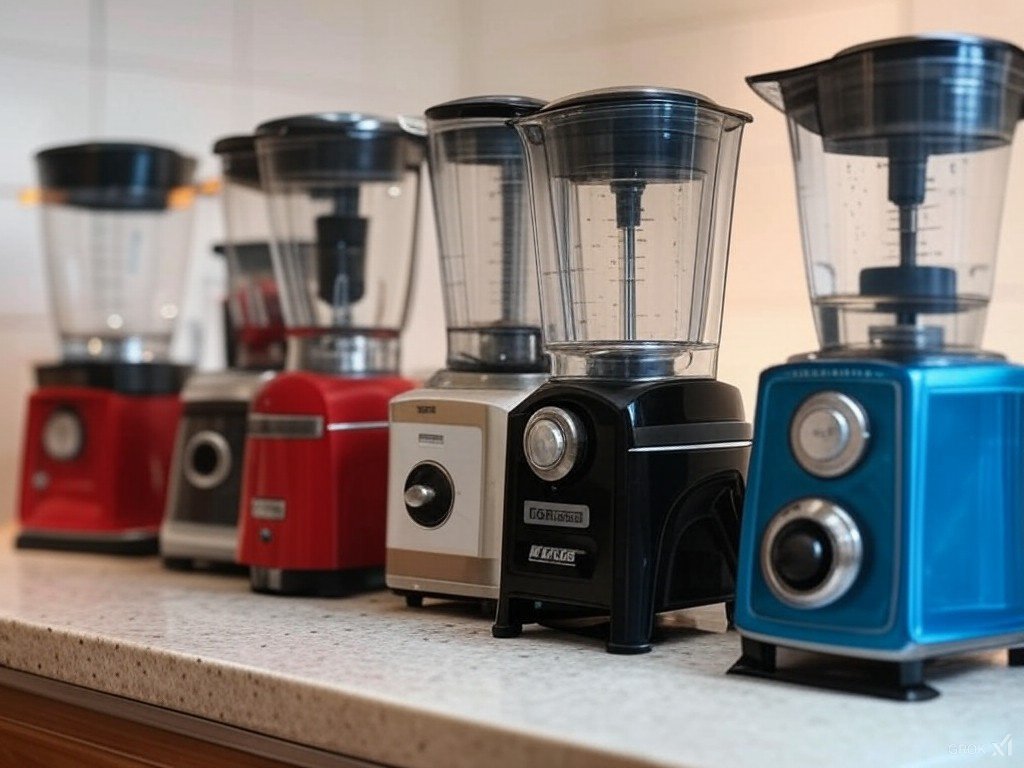
Cleaning a blender effectively can help maintain its performance and longevity. Here’s a step-by-step guide on how to clean a blender:
Care & Maintenance:
1. Immediate Rinse
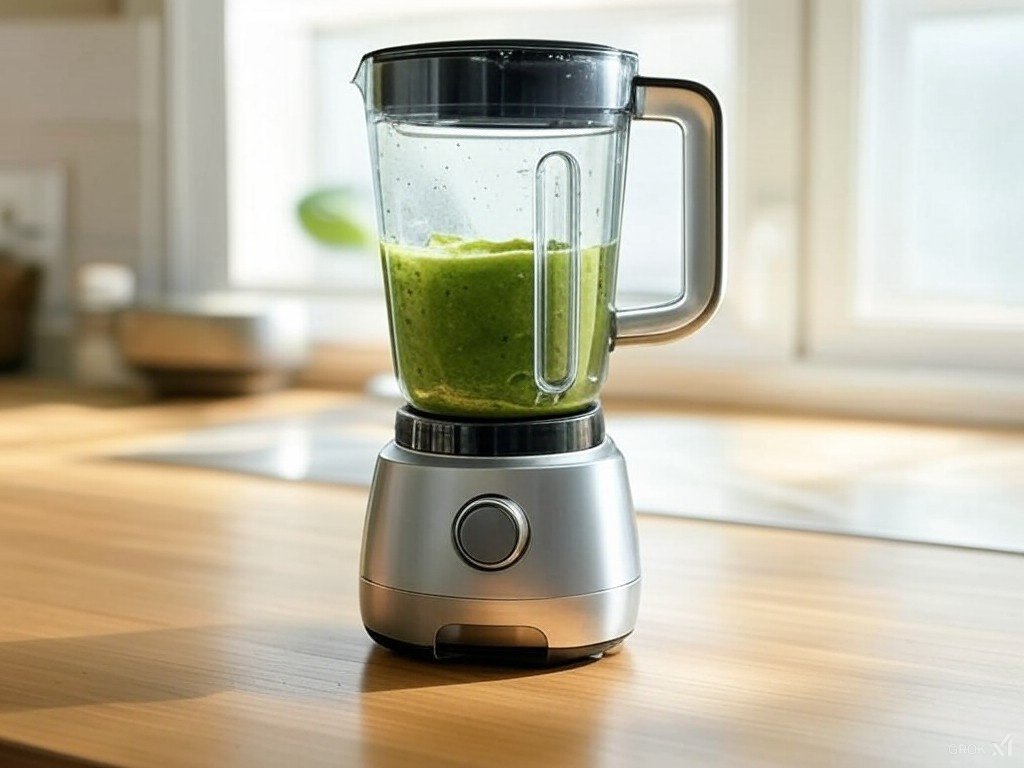
- Action: Immediately after use, fill the blender container halfway with warm water. Add a few drops of dish soap.
- Why: This prevents food residues from hardening or sticking, making the subsequent cleaning easier.
2. Blend the Cleaning Solution
- Action: Secure the lid tightly and run the blender at a high speed for 30 seconds to 1 minute.
- Why: The motion of the blades will help to dislodge food particles and spread the soap throughout the container for a thorough clean.
3. Rinse
- Action: Empty the soapy water, then rinse the container thoroughly under running tap water. Make sure all soap is washed away.
- Why: Soap residue can affect the taste of your next blend if not completely removed.
4. Disassemble for Detailed Cleaning
- Action:
- Remove the Blade Assembly: If your blender allows, carefully unscrew or detach the blade from the base of the container. Be cautious; the blades are sharp.
- Clean Each Part: Use a bottle brush or sponge for the inside of the jar, especially around the blade area. For the blade assembly, use a small brush to get into crevices, or simply rinse thoroughly if disassembly isn’t possible.
- Lid and Gasket: Wash these parts under running water, scrubbing any stubborn spots with a sponge or brush.
- Why: Individual cleaning ensures no food particles remain in less accessible places, preventing bacterial growth.
5. Stubborn Stains or Odors
- Action: For tough residues or lingering smells:
- Baking Soda: Fill the jar with warm water, add a tablespoon of baking soda, blend for 30 seconds, let it sit for a few minutes, then rinse. Baking soda is great for neutralizing odors and lifting stains.
- Vinegar: Alternatively, use a vinegar solution (1 part vinegar to 2 parts water), blend, then let sit for 10-15 minutes before rinsing. Vinegar tackles different types of stains and odors.
- Why: These natural cleaners are effective for deep cleaning and odor removal without harsh chemicals.
6. Drying
- Action:
- Air Dry: Turn the jar upside down on a drying rack or towel to allow water to drain out and air dry.
- Blade Assembly: Dry with a cloth or let air dry completely before reassembling.
- Why: Preventing moisture buildup helps avoid mold and rust, especially on metal parts.
7. Reassemble
- Action: Once everything is dry, reassemble the blender. Ensure all parts are secure.
- Why: Proper assembly ensures the blender works correctly and safely in your next use.
Additional Tips:
- Regular Maintenance: Clean your blender after each use to prevent buildup.
- Avoid Dishwasher: If possible, hand wash the blender parts since the dishwasher might not clean all areas effectively and could damage plastic parts over time.
- Check Manual: Some blenders have specific cleaning instructions or parts that should not be submerged in water.
By following these steps, you’ll keep your blender in top condition, ensuring it remains hygienic and efficient for all your blending needs.
Conclusion:
By following these steps, you’ll keep your blender in top condition, ensuring it remains hygienic and efficient for all your blending needs.